Last week, Greg showed us all about How to create a Digital Clock using Xcelsius. After looking at the XLF that Greg posted, what stuck me was how a simple NOW() function can turn a Label Component into a fully functioning Digital clock. It was like food for thought for me and I thought why not an Analog Clock using the same logic. So I decided to take a step forward and add a few more formulas and extend the functionality of a Digital Clock to an Analog version. I know, going from Digital to Analog is not really a step forward, but It’s a worthy effort to show the power of Xcelsius. Here is how I achieved it.
Theme
I used the Windows Classic Theme, as it had the best looking Gauge for an Analog Clock. Looks more authentic 😉
Excel
I used the same XLF posted by Greg and added 3 new formulas as shown below. Notice that the Hours formula is not as simple as Minutes and Seconds, that’s because I had to take care of the 24 hour format. Knock-Knock, there is no 24 hour Analog clock, remember! So I had to write a formula to always show between 1 and 12. Also, I multiplied the Hours with 5, that’s because I’m using a single Gauge for all three measures. (E.g. I don’t want the Hours needle to be at 2, when it is actually 2, I want it to be at 10. Get it?

Components
Gauge:
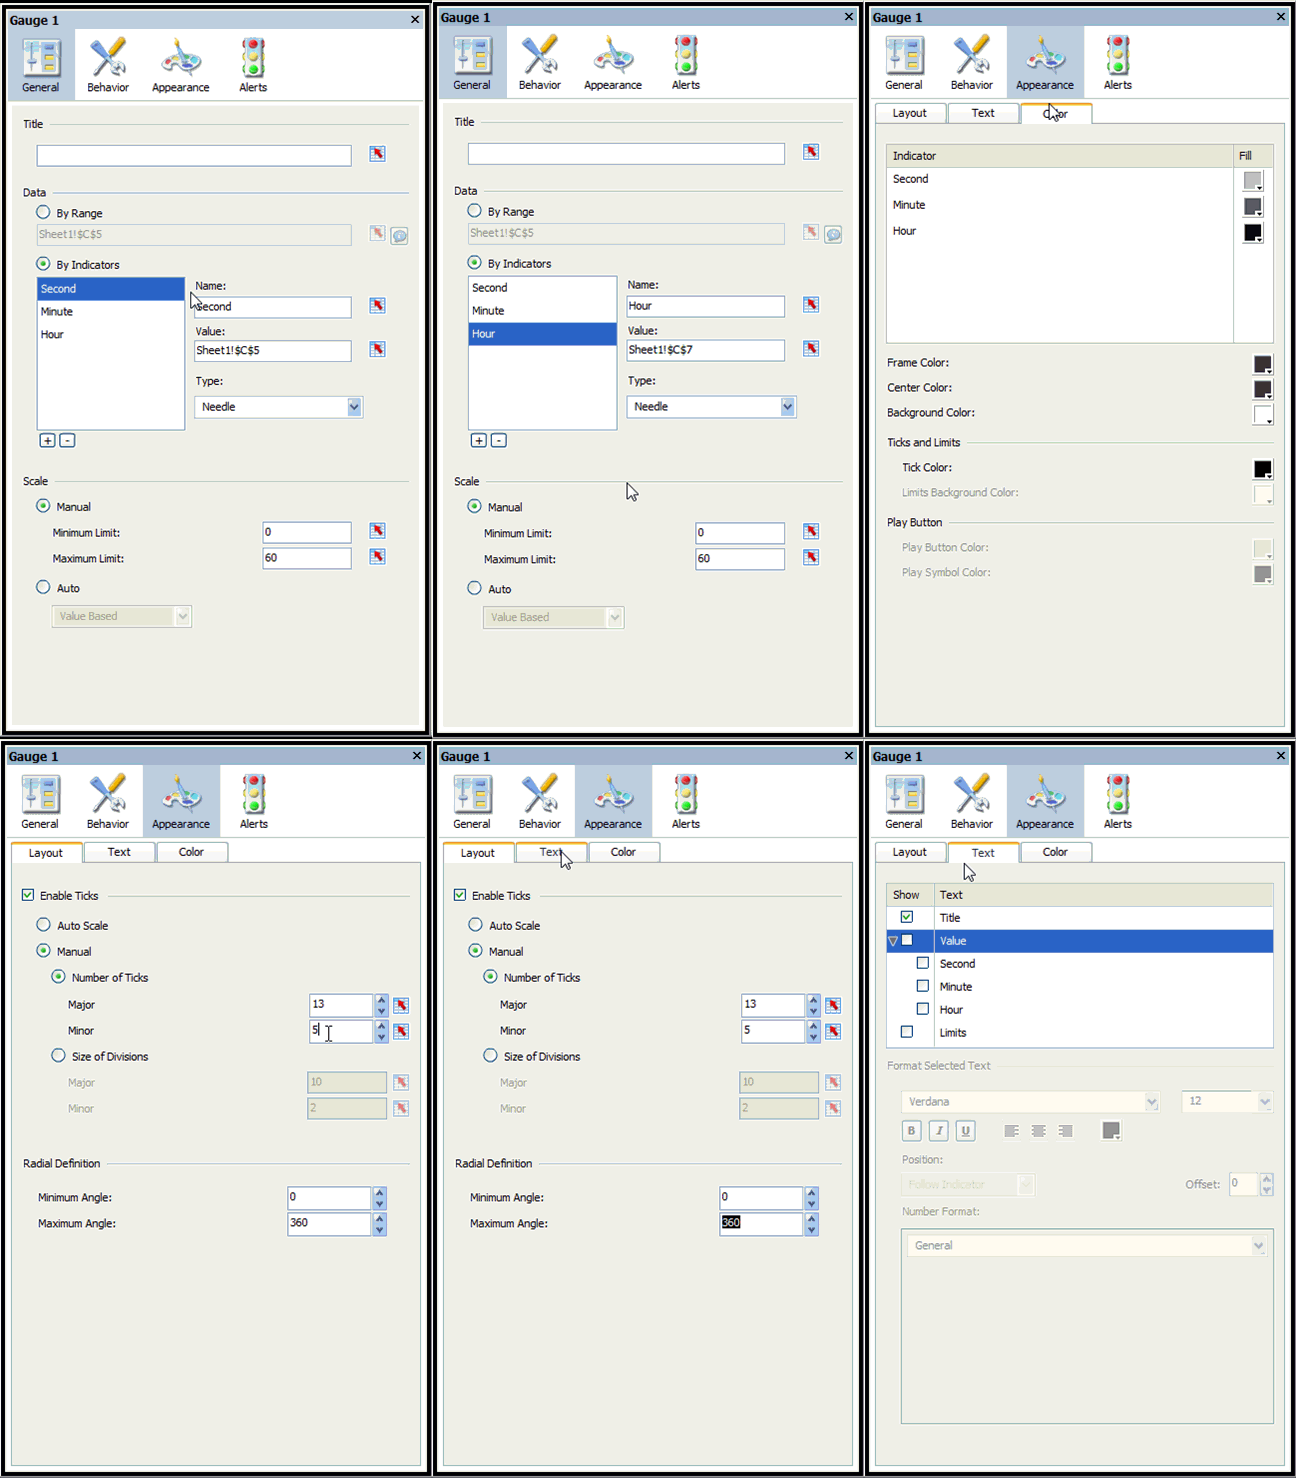
Used a simple Gauge component with 3 series and mapped them to Hours, Minutes and Seconds. Make sure you change the limits to 0-60. Why? go see your wall clock.

Labels:
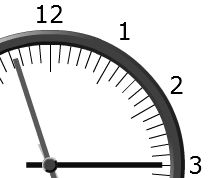
Used 12 labels to display the hour numbers (1-12). Want to get creative? Go ahead and use 1-60 for seconds inside the gauge. Got this idea from my wrist watch. However, never had the patience.

Rectangle:
Threw in a Rectangle component to create a frame for the clock. The trick is to go crazy with the Border Thickness property. In this case it is set to 25 (Are you serious?)

Play Selector:
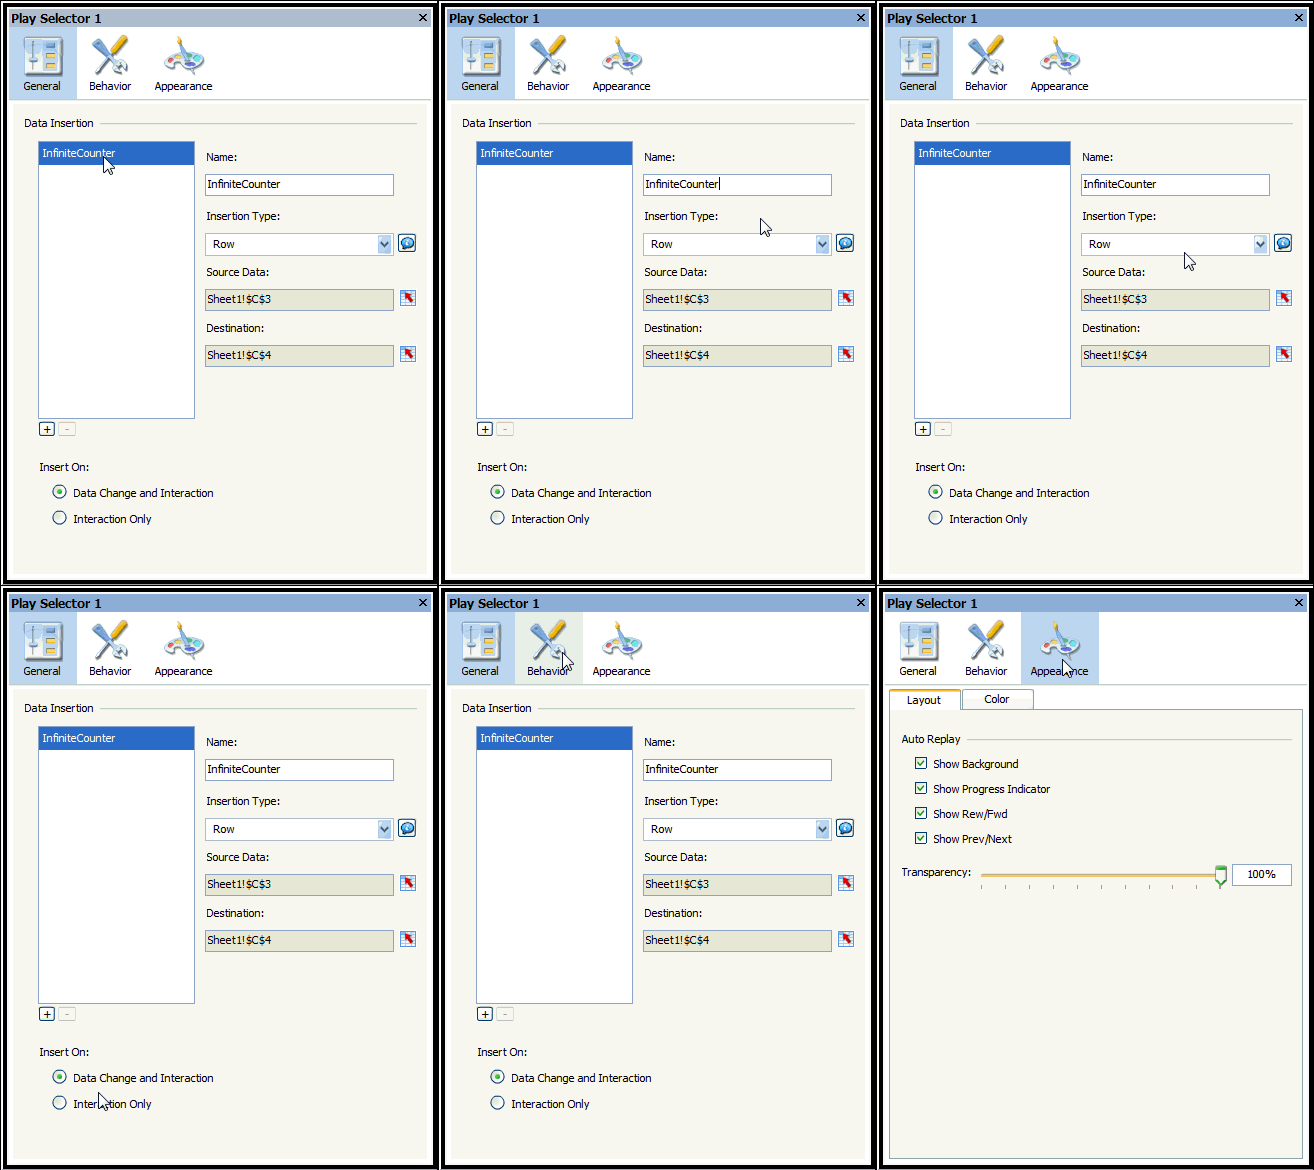
As mentioned above, stole this one from Greg’s example. If you notice the logic behind the Source and Destinations for the Play Selector, you will see that it is an infinite counter logic. Well done Greg!
Make sure you hide the Play Selector, or you might look like a fool when you show this to your pals.

Icon:
Finally, to top it up, I used an Icon Component and bound it to the Current Local Time cell to show the date and time when the user hovers over the clock. Make sure you set the transparency of the Icon Component to 100%.
![]()
Oh-Ley, that’s it. Download the Source Files below.
I hope you enjoyed this slick trick. Thanks to Greg for starting this Clock series. Please use the comments section to shout it out.


